Windows Deployment Services Overview
WDS is the replacement platform for Microsoft’s Remote Installation Server (RIS) and is intended to facilitate the deployment of operating systems in medium and large organizations.
WDS is designed primarily to be used to deploy Windows VISTA, Windows Server 2008, and Windows 7 but can also be used to deploy other operating systems such as Windows XP. WDS uses disk imaging by utilising the Windows Imaging Format (WIM). It can also be used to fully automate and customize the installation through the use of unattended installation scripting files meaning it can be used to install the operating system from the ground up resulting in a hardware independent deployment.
WDS allows you to:
- Manage the deployment of complete systems and software via means of images and unattended installation scripts.
- Manage the attended and unattended installation of operating systems.
Deployment using WDS relies on the following services:
- Windows Preboot Execution Environment (PXE).
- Windows Preinstallation Environment (Windows PE).
- Windows Imaging File Format (WIM).
Windows PXE
Pre-boot Execution Environment was originally created by Intel and allows a machine to boot from a server on the network prior to booting an operating system. In order to function the PXE requires a PXE server which distributes IP addresses by means of DHCP. An initial boot image is then transfered from the server by TFTP.
Windows PE
Windows PE is a minimal operating system designed to prepare a computer for installation. It can be used to:
- Start a bare-metal computer (no operating system).
- Partition and format hard drives.
- Copy disk images or initiate Windows Setup from a network share.
Windows Image File Format
Windows Imaging Format is a file-based disk image format developed to deploy windows operating systems. Windows VISTA through to Server 2008 use it as part of their standard installation procedure. As WIM is a file based format it can only be applied to an existing volume or partition. The utility that is used to create and apply WIM images is the command-line utility ‘imagex’.
Using Windows PE and ImageX a system prepared with sysprep can be ‘imaged’ and then deployed to multiple machines. We will be using this method to create and deploy images of Windows XP using WDS.
Installation & Configuration of WDS
WDS is included as a Server Role in all 32-bit and 64-bit versions of Windows Server 2008, and is included as an optionally installable component with Windows Server 2003 Service Pack 2. For the purpose of this article we will be setting up a dedicated Windows Server 2008 to handle the WDS service.
Installation & Configuration
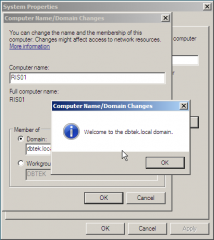
- Install Windows Server 2008 by a method of your choosing. Once the installation is complete, rename the machine to something apt (in this case RIS01) and then join the machine to the domain.
- It is useful to have a second drive or partition on the server which will house the RemoteInstallation shared folder and the WIM images. For the purpose of this article we will be using E:
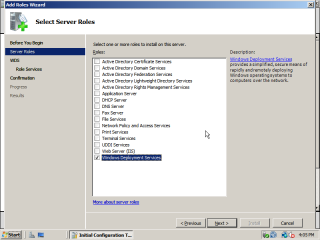
- Log into the domain and the open Server Manager. Open the Add Roles Wizard and select ‘Windows Deployment Services’ and then click ‘next’.
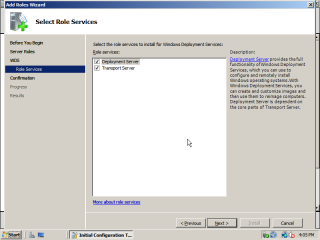
- Make sure that both the Deployment Server and Transport Server are selected and then click ‘next’.
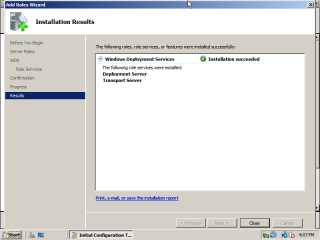
- Go through the rest of the wizard to completion.
- Once the installation is complete, locate WDS under Administrative Tools and open the service.
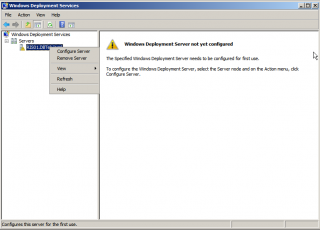
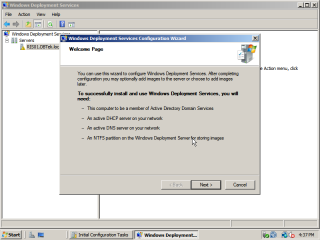
- Expand the ‘Servers’ tab and you will notice that the server has an exclamation mark over it. ‘Right click’ the server and select ‘Configure Server’ which will open the Windows Deployment Services Configuration Wizard. Then, Click ‘next’.
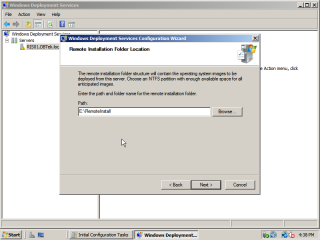
- Now choose a location for the remote installation files. This will be a shared folder that that will contain all the necessary files and images needed for the deployment services. For the purposes of this article we will put this on a seperate drive, “E:\RemoteInstall”, then click next.
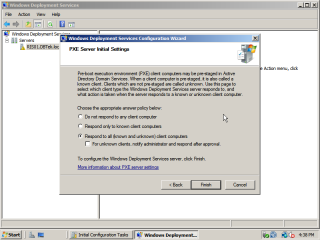
- When asked for the PXE server initial settings, choose “Respond to all client computers”.
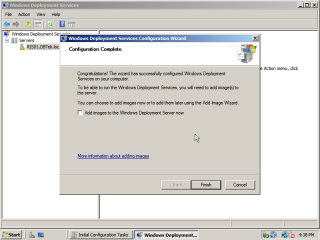
- Go through the rest of the wizard until the ‘Configuration Complete’ screen. Uncheck the box ‘Add Images to the Windows Deployment Server now’. Click on ‘Finnish’.
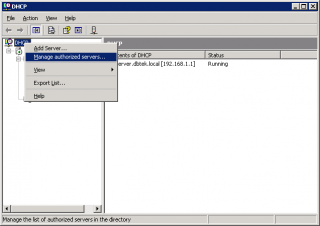
- Once the server is installed it needs to be added as an authorized server in DHCP. Open up DHCP, ‘right click’ and the select ‘Manage Authorized Servers’.
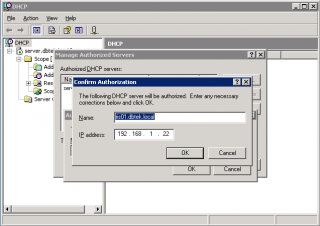
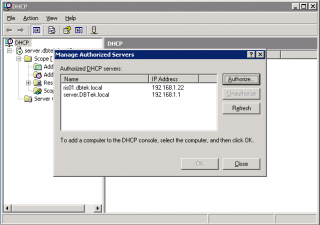
- If the server does not already appear in the list, click on ‘authorize’ and then enter the IP address and click ok.
- Once added, click ‘close’.
Add a Boot Image
In order add the programs or boot loaders that are used when a machine connects to the WDS server we need to add a boot image. These can be found in several places but for this example we will use the Windows PE image that is on a Windows 7 installation disk.
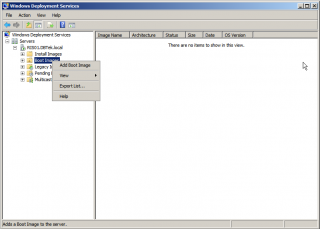
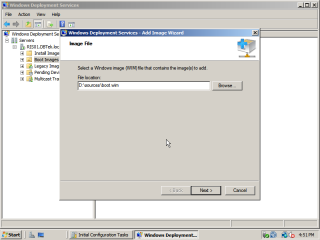
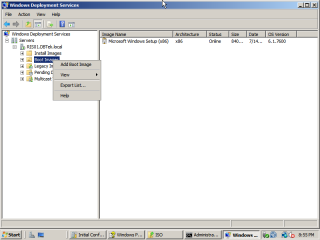
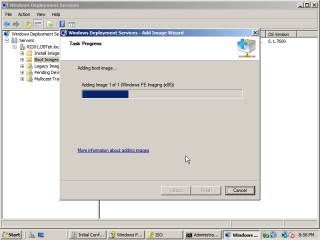
- In WDS, right click on Boot Images and ‘Add Boot Image’. When promted for a location navigate to the ‘sources’ folder on the Windows 7 installation disk and select the ‘boot.wim’ file. Then, click ‘next’.
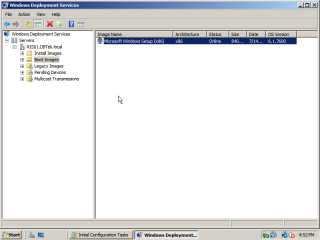
- Go through the rest of the wizard with the default values until complete. The image should now be visible in the Boot Images section on the right.
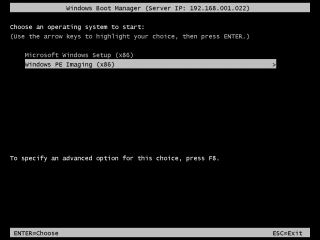
- At this point you can test the server and boot image by booting a pc from the network card. When prompted, press F12 to boot from the network and the machine should start to boot from the Windows 7 PE image.
Create an Automatic Configuration Script
The Windows Automated installation Kit is a set of tools and documentation released to manage, customize and deploy the Windows family of operating systems. By using the Windows System Image Manager provided in the AIk, it is possible to create unattended scripts in the form of xml files that automate the deployment or installation process.
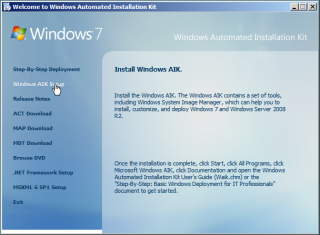
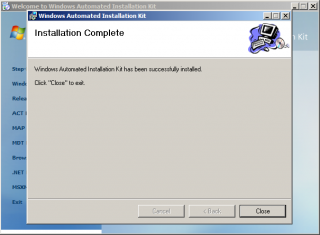
- Download the AIK from here and burn it to DVD. Insert the DVD and click on ‘Windows AIK Setup’ to start the installation wizard.
- Go through the rest of the wizard using the default settings until complete.
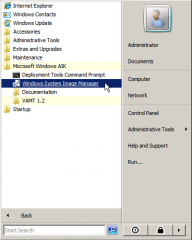
- Once installed, locate Windows AIK under ‘All Programs’ and open up the Windows System Image Manager.
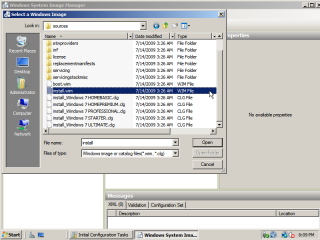
- In the Windows SIM, under the Windows Image section, ‘right click’ where it says ‘Select a Windows image or catalog files’ and click on ‘Select Windows image’. Point SIM towards the file ‘install.wim’ located in the sources folder on the Windows 7 DVD.
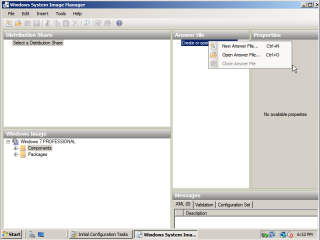
- Next, under the Answer File section, right click where it says ‘Create or open an answer file’ and select ‘New answer file’.
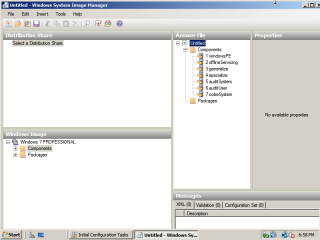
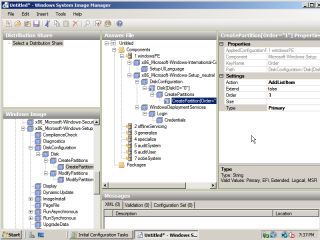
- After that, the window should look somthing like this:
In order to automate the PE process of the install several components need to be added to the answer file from the Windows image, more specifically, components to automate language and region selection, logging into the domain, and preparing the hard drive ready for image transfer.
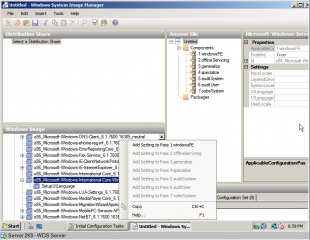
- Expand the components section under Windows Image and navigate down to the ‘MS-Windows-International-Core-WinPE’ component. ‘Right click’ the component and add the settings.
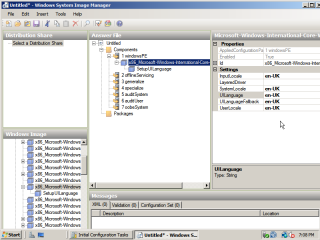
- In the Answer File section, fill in the locale information as appropriate.
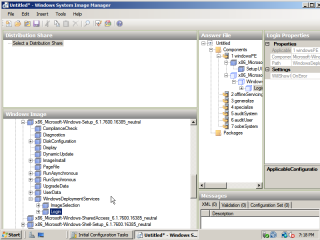
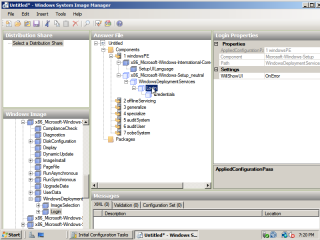
- Next, navigate to the ‘Microsoft-Windows-Setup’ component. Expand it and then add the ‘Login’ component.
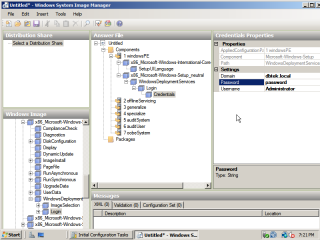
- Under the login settings, select how you would like the UI to be displayed. I would suggest you leave it as ‘OnError’. Under the credentials settings, fill in the details of a user account that has necessary credentials on the domain.
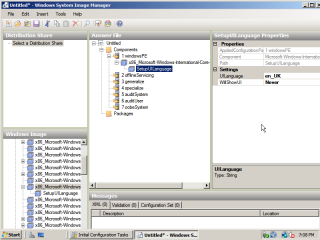
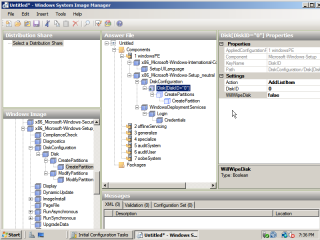
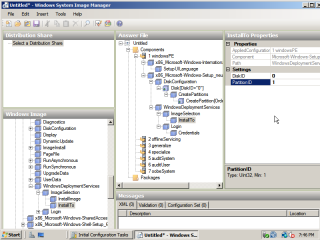
- In order to automate the preperation of the hard drive there are two components required. Again, under ‘Microsoft-Windows-Setup’, navigate to ‘DiskConfiguration’, expand down to ‘CreatePartition’ and add it to the answer file. Configure the disk settings, and partition settings as depicted in the images. In order to partition the the full size of the disk, leave size field empty.
- Finally, under ‘WindowsDeploymentServices’, add the ‘InstallTo’ component. This tells the installation where to transfer the image to. Configure the disk and partition information.
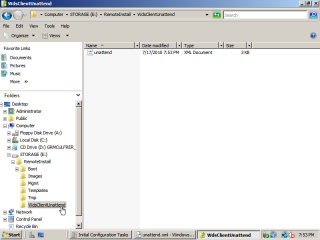
- Now save the answer file as ‘unattend.xml’ and copy it to the following location.
E:\RemoteInstall\WdsClientInstall
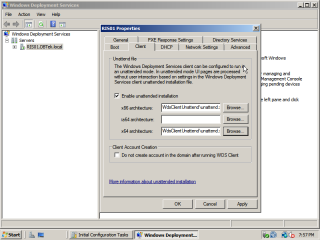
- Now back in WDS. ‘Right click’ on the server and under the ‘Client’ tab, check the ‘enable unattended installation’ tab and point the architectures to the location of the unattend.xml script.
Creating an XP Image
A system is ‘captured’ into an WIM format for use with WDS using the Microsoft utility ‘ImageX’. This is a command line utility that is run from a preinstallation environment. First of all the Windows PE needs to be created. Then form the Windows PE, ImageX can ‘capture’ the prepared system and transfer the image to a location on the network.
Create a Windows PE Image
You can build a Windows PE image from the Automatic Installation Kit. By this point in the article you should already have it installed.
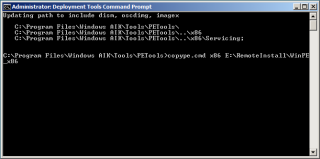
- Navigate to the AIK in ‘All Programs’ and open the ‘Deployment Tools Command Prompt’. At the prompt, type the following command.
copype.exe x86 E:\RemoteInstall\WinPE_x86
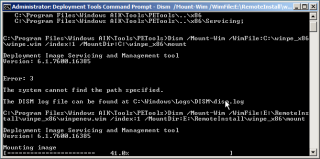
This creates a local environment for building the Windows PE image. A base image is created in the folder specified by the previous command. I suggest you make a copy of the base image and work from that. - Mount the base image using the dism command as follows.
Dism /Mount-Wim /WimFile:E:\RemoteInstall\WinPE_x86\WinPENew.wim /index: /MountDir:E:\RemoteInstall\WinPE_x86\mount
This will effectively extract the files from the image into the working directory for manipulation.
- Copy any custom tools such as ImageX and any other command line utilities to the ‘windows\system32’ directory. ImageX can be found in the AIK installation directory.
- You can add additional drivers to the image by using the following command.
Dism /image:location\mount /Add-Driver /driver:location\driver.inf
These could be and drivers that are non generic, such as storage or network controllers.
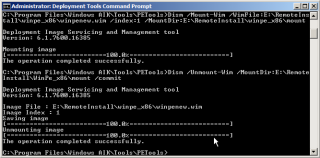
- Commit the changes using the following command.
Dism /Unmount-Wim /MountDir:E:\RemoteInstall\WinPE_x86\mount /commit
- Now import the image into WDS by ‘right clicking’ on the Boot Images section and adding pointing to the location of your WinPE image.
Capture a Windows XP WIM
The preperation of a Windows system for imaging by utilising the Microsoft Sysprep utility is beyond the scope of this justify, but you can find more information on this here.
- First of all create a network share on the WDS server to transfer and hold the WIM files to. For the purpose of this article I have created it on our E: and have called it ‘WIMS’.
- Boot the computer from the network by selecting F12 when prompted and select the Windows PE image from the menu.
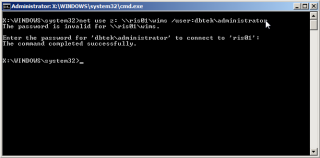
- At the command prompt, map the network share to a drive, lets say Z drive. Include in the command the credentials for a user on the domain that has permissions for the share.
net use z: \\RIS01\WIMS /user:DBTEK\administrator
When prompted, enter the password for the user.
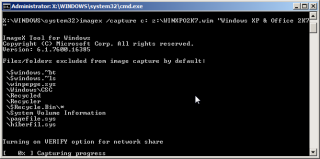
- Run the following command to ‘capture’ the contents of the C drive and transfer them as a WIM file to the network share.
imagex /capture C: Z:\WindowsXP.wim “PC Model – Windows XP”
- Finally, import the install image by right clicking on the ‘Install Images’ tab on the WDS server and adding the image.
You can see how this process can be repeated to provide multiple images for different systems and including different applications.
